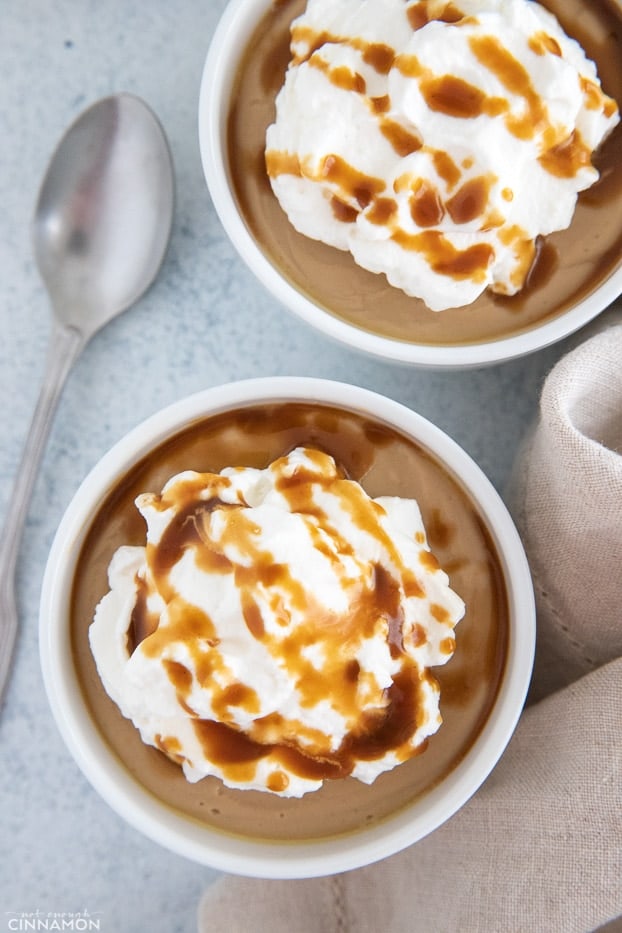
This decadent Vegan and Dairy-free Salted Caramel Pudding makes such an incredible treat for any time of day. These little pudding pots are super easy to make and keep easily in the fridge for up to five days - if you can make them last that long!
Every morning I wake up, and adult-me puts on their game-face - ready to tackle another full day of kids, work, house management and all these others things adults do. All while my inner child is just making pouty-faces and wondering how long until snack time.
Well, Snack Time has arrived! Not only that, it has arrived with a style and sensibility that adult-you will approve of - all while your inner child cackles maniacally in the background and waves around its little spoon like the scepter of a mad queen.
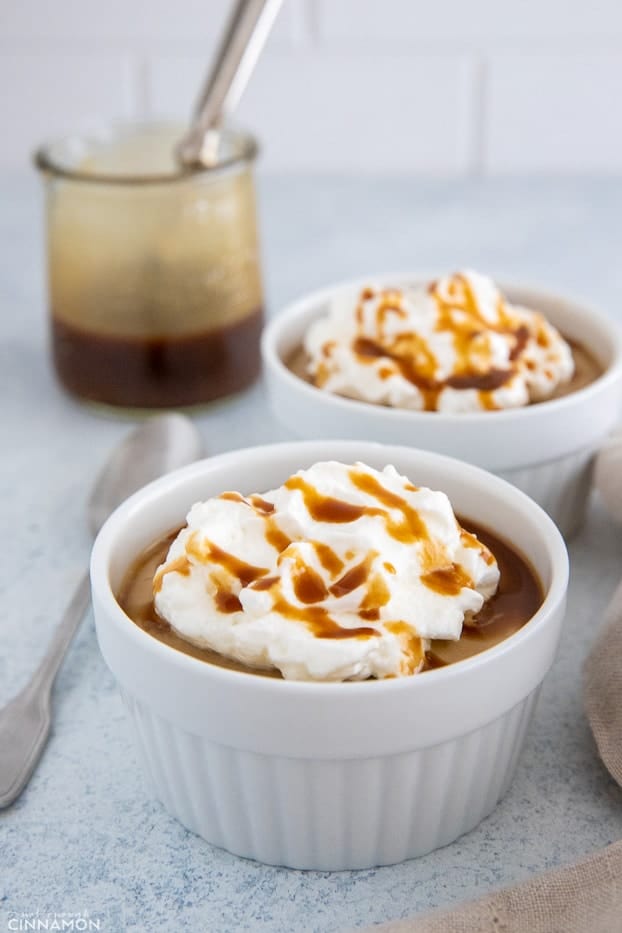
What makes these salted caramel puddings so special?
A couple of key substitutions allow this delectable dessert to be both vegan and dairy-free without sacrificing any flavor, and without making the recipe any more complicated. In fact, this salted caramel pudding recipe is dead simple. Heat and stir everything together in a single saucepan; pour; chill... done.
Another key to success here is the use of coconut sugar. While it doesn't particularly present any calorie-related benefits over the use of regular refined sugar, it does provide a very easy way to give our puddings a deep, complex caramel flavor without any of the risks inherent in browning refined sugar to the point where it starts to develop the same flavor profile.
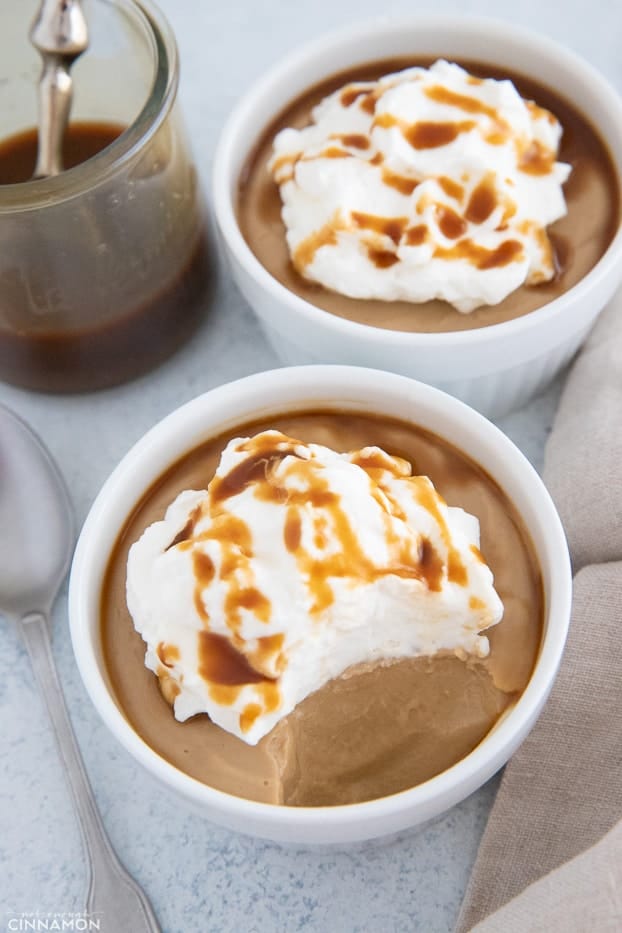
Worried that salted caramel might be a little too "advanced" for the kids?
Even better, get those children away from my pudding!
In all seriousness though, it's a simple matter of excluding or reducing the salt used in this recipe. I would attempt reducing the amount before cutting it out altogether though, and if they still don't like it? Tough cookies, more for mommy.
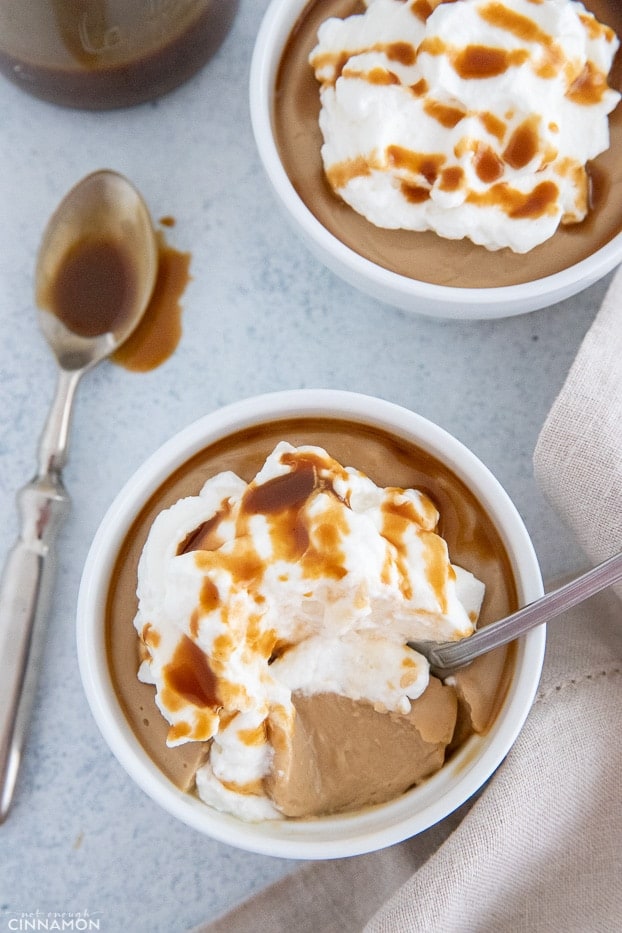
Another solution - which I tend to include for myself - is topping the puddings with a generous dollop of coconut whipped cream. I find that the freshness and lightness of it is the perfect complement to the deep richness of the caramel, and helps offset the hint of salt. Not to mention that piping a little rosette on top makes them even more attractive.
How to make Vegan Salted Caramel Pudding:
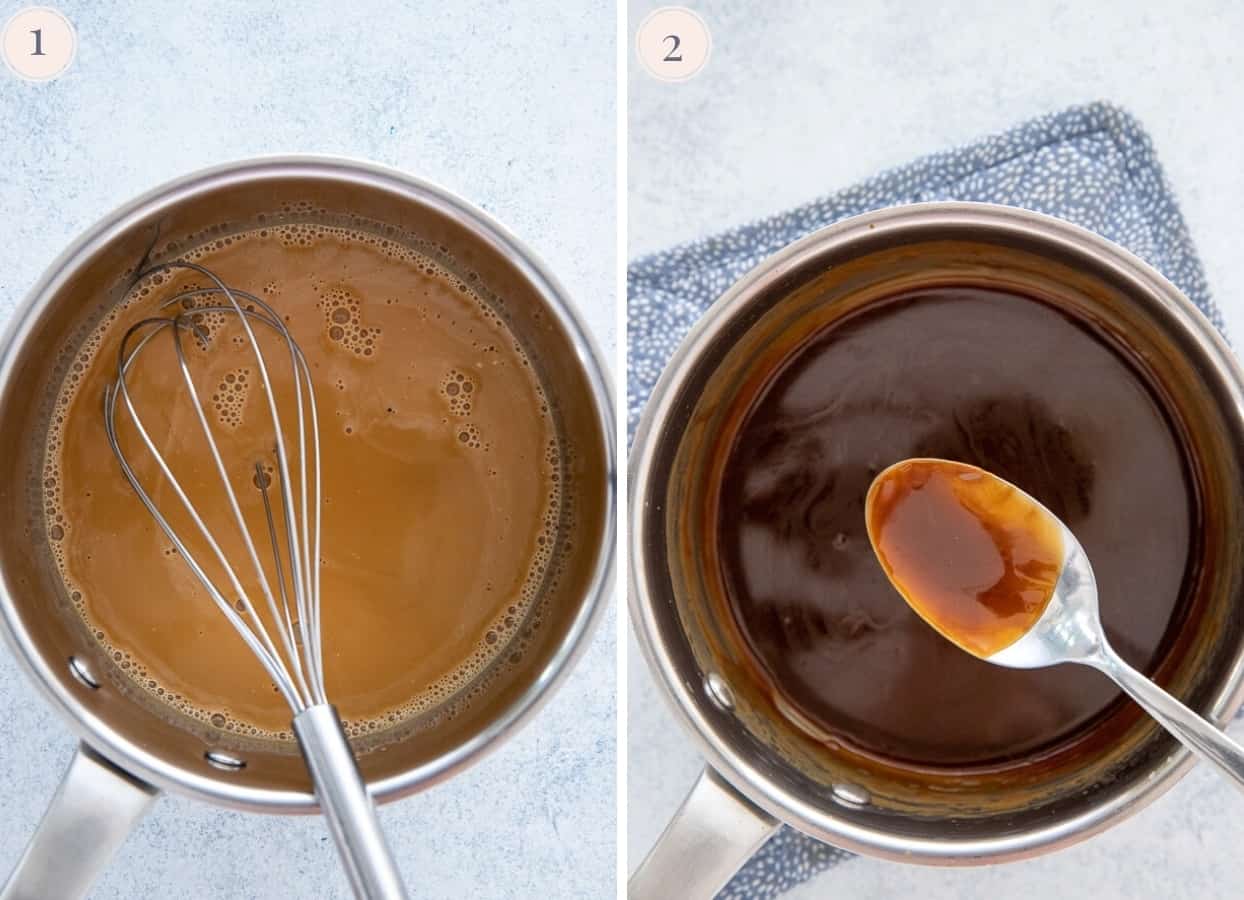
Step 1 & 2 - In a saucepan on high heat, combine half of the coconut milk (½ cup) with the coconut sugar and the salt. Let that come to a boil, then drop the heat to low, allowing it to simmer energetically. Keep stirring constantly until your mixture begins to both thicken and darken. This should take a minimum of ten minutes.
In a small glass, pour in the cashew milk, and all of the cornstarch, whisk vigorously until no lumps remain. Whisk in the remaining half of the coconut milk, the cornstarch/cashew milk slurry, and the vanilla extract and bump the heat up to medium.
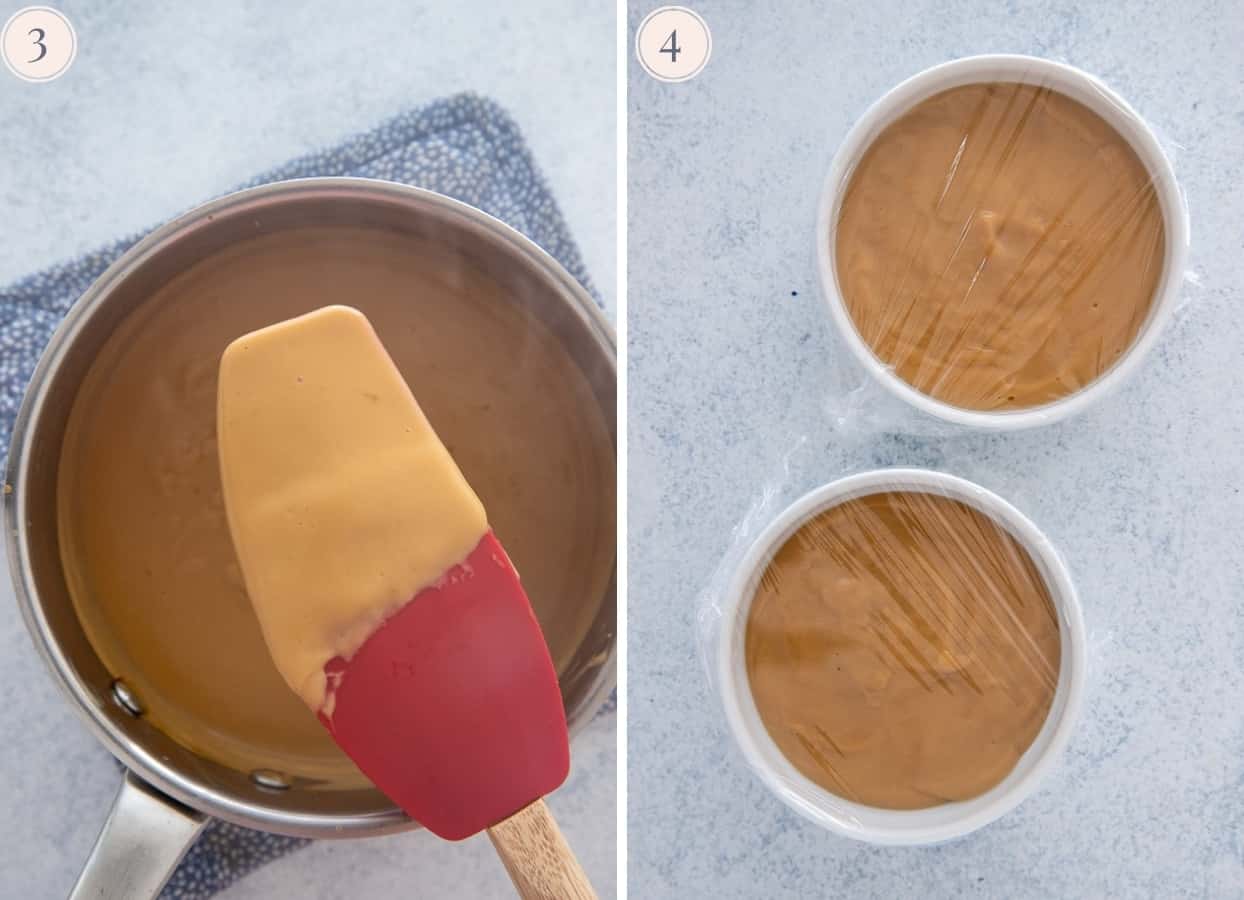
Step 3 - Now, keep stirring! We’re essentially making a custard here, and the custard will start to form from the bottom of the pan, upwards. If you don’t want any lumps, you have to keep stirring and gently scraping the bottom of the pan. Silicone spatulas are the easiest to use for this, otherwise some wooden utensil in order to not damage any non-stick surfaces on your cook-ware. You’ll want to keep stirring for a good 5 minutes in order to allow the cornstarch the time it needs to do its job.
Step 4 - Immediately divide the mixture into your ramekins, and give the little darlings a wee pat on the bottom to try and get rid of any air bubbles. Cover the tops with plastic wrap - without having it touch the salted caramel pudding. Let them cool in the fridge for at least 3 hours.
I recommend serving the salted caramel pudding with a generous dollop of coconut whipped cream, a drizzle of caramel sauce (see notes) and a pinch of large-flake sea salt.
Tips:
- Pour gently into the ramekin, then immediately tap it against the counter as hard as you feel comfortable. Do this one at a time instead of waiting until you have all four poured. We want to chase out all those air bubbles as soon as possible rather than having them break on the surface because those bubbles will set. This is purely a cosmetic thing.
- If you make the extra caramel sauce, it can be stored in the fridge for ages and used on plenty of other delicious desserts. I even use it in my coffee sometimes!
- If you don't have any large-flake salt handy, be VERY careful if you're garnishing with fine, granulated salt. It's very easy to overdo it.
- When buying canned coconut milk, be sure to shake the cans first. You want the cans where you can hear the least liquid sloshing around inside, as this means that there is a higher ratio of coconut cream in there, which packs more flavor and makes for creamier results.

Vegan Salted Caramel Puddings
These decadent Vegan and Dairy-free Salted Caramel Puddings make such an incredible treat for any time of day. They're super easy to make and keep easily in the fridge for up to five days - if you can make them last that long! Makes 2-4 depending on the size of you ramekins.
Ingredients
Ingredients:
- 1 cup full-fat canned coconut milk
- 3 Tbsp coconut sugar
- ¼ tsp salt + a sprinkle of flaked sea salt for serving
- 2 Tbsp cornstarch
- ¾ cup unsweetened cashew milk
- 1 tsp vanilla extract
Extra caramel sauce (for serving - optional)
- 1 cup full-fat canned coconut milk
- 3 Tbsp coconut sugar
- ¼ tsp salt + a sprinkle of flaked sea salt for serving
- coconut whipped cream
Instructions
-
In a saucepan on high heat, combine half of the coconut milk (½ cup) with the coconut sugar and the salt. Let that come to a boil, then drop the heat to low, allowing it to simmer energetically. Keep stirring constantly until your mixture begins to both thicken and darken. This should take a minimum of ten minutes.
-
In a small glass, pour in the cashew milk, and all of the cornstarch, whisk vigorously until no lumps remain. Whisk in the remaining half of the coconut milk, the cornstarch/cashew milk slurry, and the vanilla extract and bump the heat up to medium.
-
Now, keep stirring! We’re essentially making a custard here, and the custard will start to form from the bottom of the pan, upwards. If you don’t want any lumps, you have to keep stirring and gently scraping the bottom of the pan. Silicone spatulas are the easiest to use for this, otherwise some wooden utensil in order to not damage any non-stick surfaces on your cook-ware. You’ll want to keep stirring for a good 5 minutes in order to allow the cornstarch the time it needs to do its job.
-
Immediately divide the mixture into your ramekins, and give the little darlings a wee pat on the bottom to try and get rid of any air bubbles. Cover the tops with plastic wrap - without having it touch the pudding. Let them cool in the fridge for at least 3 hours.
-
I recommend serving the puddings with a generous dollop of coconut whipped cream, a drizzle of caramel sauce (see notes) and a pinch of large-flake sea salt.
Recipe Notes
If you want additional caramel sauce for serving, simply repeat step 1. Pour the caramel into a small container. The sauce will continue to thicken as it cools.



Beth
Yum! This looks so delicious and tasty! I can't wait to give this a try! My family is going to love this!
Marie
Oh, I have yet to meet someone who doesn't LOVE caramel desserts! You are in for a treat Beth! Enjoy and thanks for stopping by.
Shelley
So much to love here! I mean ... a salted caramel treat that's vegan and dairy-free, too?!? Perfect! Even better, though? I love that I can make them ahead and keep them stashed in the fridge for a guilt-free little treat all week long!
Marie
YES Exactly and the making ahead part is just the cherry on top! Pretty dangerous to have these sitting in the fridge though! 🙂 Happy holidays
Pam
You had me at caramel! I love anything caramel flavored and can't wait to try this.
Marie
Oh then you are in for a treat lady!
Taylor Kiser
Yum, I love salted caramel! Can’t wait make this dessert!
Marie
Oh, then this one is for you! Enjoy and happy holidays!
Toni Dash
This is so good!! A great way to enjoy without all the guilt!
Marie
Totally! That's the idea! happy you enjoy the recipe
Megan
Can you use this with soy or oat milk if you have a nut allergy?
Marie
Absolutely Megan! Enjoy